
The Wooting one Prototype keyboard v0.3
March 21, 2016
Calder
We've been hiding it because we didn't feel comfortable sharing a prototype product, in fear of negative comments, just like anybody would be when they show their creation for the first time. You've seen the 3D renders but the prototype is the real deal and, yes, it does exist but doesn't properly represent the final design yet.
The Wooting one product design went through several iteration before landing on our final design but in retrospect, we were quite swift in deciding its final appearance. At most we tweaked it and now we still have the chance to further tweak it. That's all in contrast to our PCB design, that is, the internal hardware that has gone through quite the changes.During this design process, some time ago, we shared it on /r/mechanicalkeyboards and asked for feedback. They gave some great input and pointed out some things that we hadn't thought of.
Now I can't say we overhauled the design because of it but we rather took all the input; used it as a measuring stick and looked how we could improve the entire keyboard without derailing from our goals and vision.Just check out how some polishing work already improved our old design.
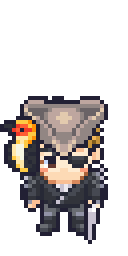
See those weird shaped keycaps, unrealistic switches, and thick board? Oh god. We improved all of those aspects.
Woop-Woop! A lot better. Now there's another (final) opportunity to tweak the Wooting one because we're building the final prototype. That's why I want to ask you to be a critical product designer, that has never experienced perfection.
First, we're going to explain some things and ideas we have, then you can judge us on it and share your opinion. So, let's get started and join the discussion.
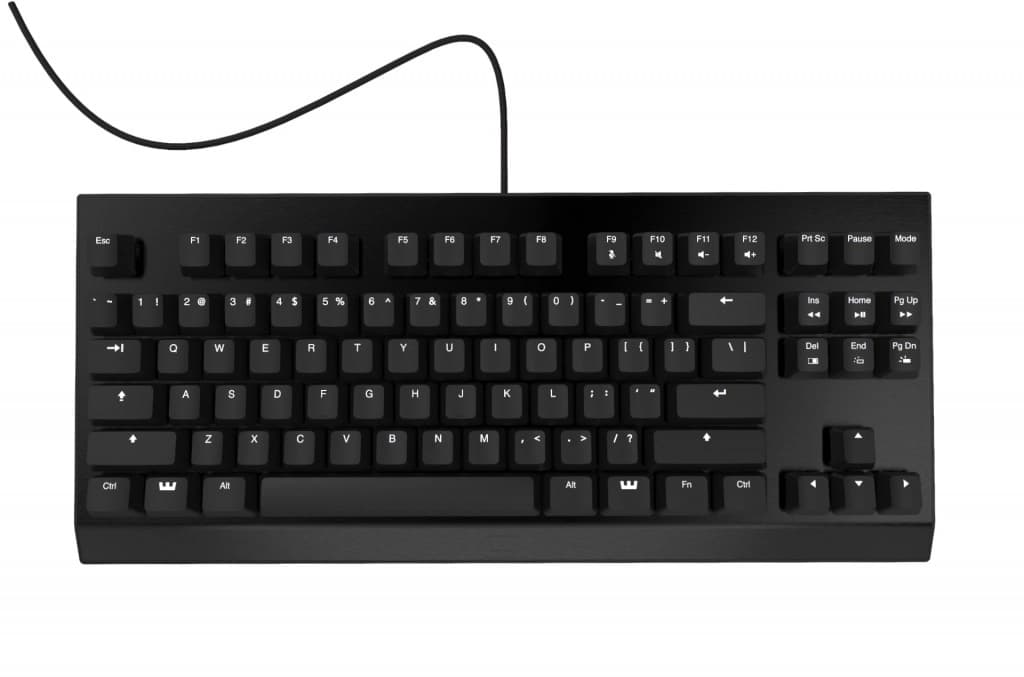
The Wooting one Prototype
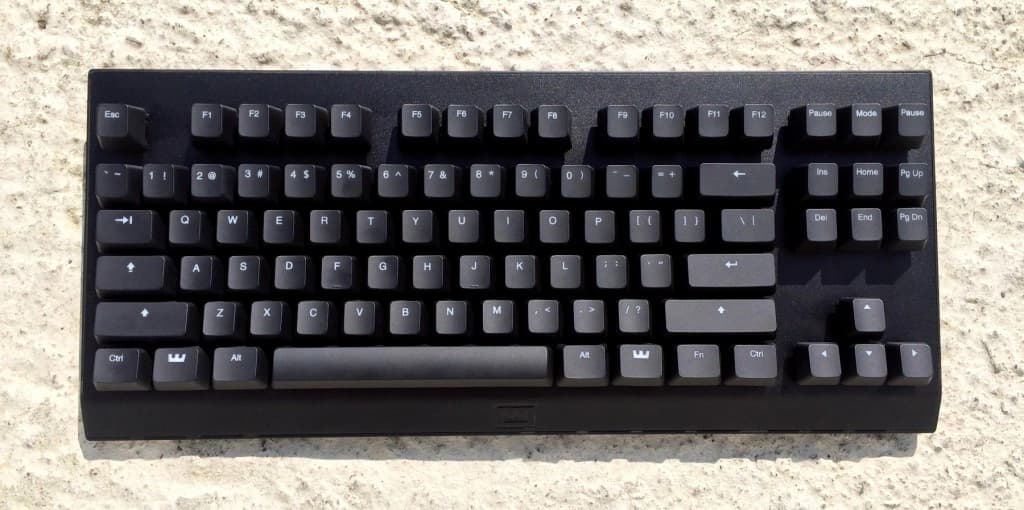
It was a very sunny day in Taiwan and while I still had the prototype (that is now in the Netherlands) in hand, took the opportunity to snap a picture with my phone.
Prototype blemish
This prototype was entirely made by CNC machining, both the plastic bottom cover and aluminum top plate. This means that there are some blemishes that won't be seen in the final version.
For example, the Wooting logo is very rounded (can't drill 90-degree corners) and the top plate isn't perfectly aligned with the bottom casing yet. When mass production starts, we will use plastic injection for the bottom case and the top plate is pressed with the logo stamped in.
So, we've said our peace, let's be critical now!
4 things we're considering
1. Aluminum top plate
As you might know by now, the aluminum top plate is swappable. This means you can take it off and swap it for another design or color. We've already made a couple of different color samples top plates, to test out different colors and finishes.
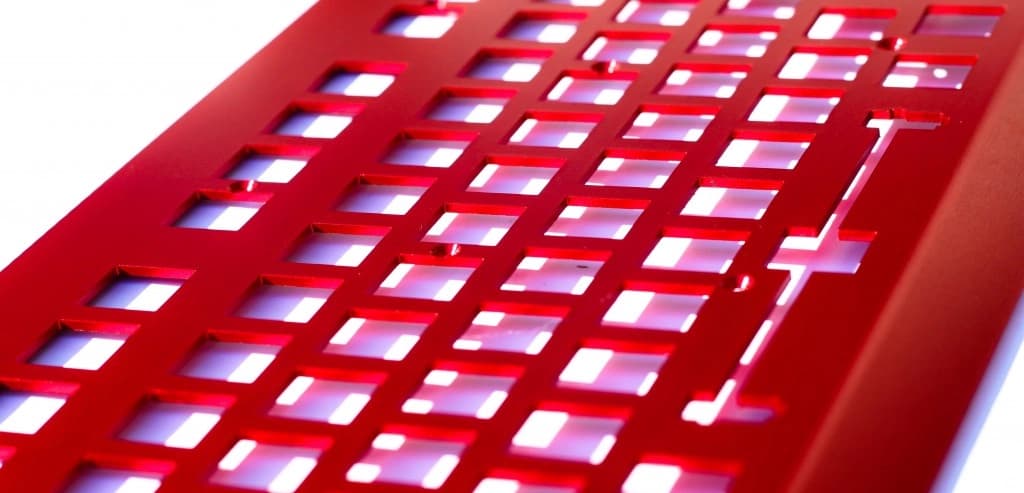
The prototype at the moment has a black sandblasted anodized top plate (that we're definitely not considering for the final product) because the manufacturer made a mistake, it should have been brushed anodized.
Hold a sec! What the hell are you talking about? anodized, brushed, sandblasted what?
Let me explain some basics. After making the aluminum top plate, there are different ways to color it.
The most popular method for aluminum is "anodizing". It's a process in which the plates are placed in an electrolyzed color bath that causes a chemical reaction to happen on the surface of the aluminum that causes it to "suck" up the color.
As a result, a (thin) layer of the aluminum itself is colorized. So, there is no paint involved and the color won't "chip", rub or scratch off (easily). Cool right?
Furthermore, you can add a "finish" to the surface for different effects before anodizing it. In general terms you have:
- Sandblasting makes the surface more dull and grainy.
- Polishing makes it shiny and smooth,
- Brushed gives it that slight brush on the surface making it a bit less shiny and smooth.
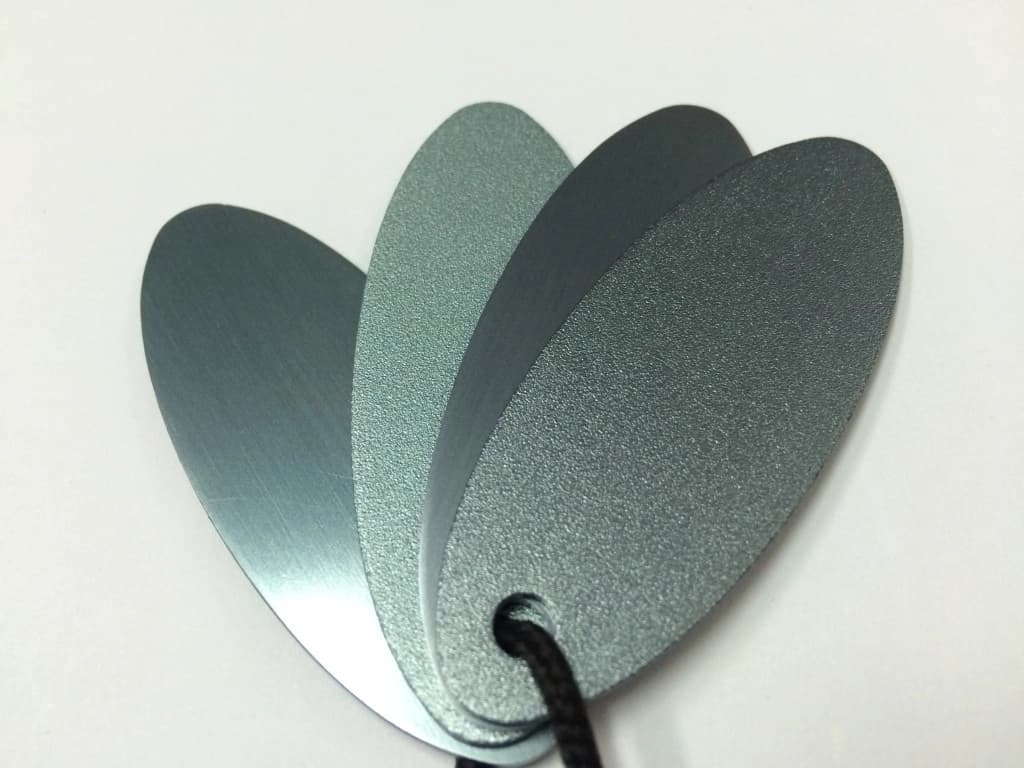
Following is a clear difference between brushed (the sample) and sandblasted anodized aluminum (the keyboard).
We're opting for a slight brushed anodized surface and produced several samples to try it out.
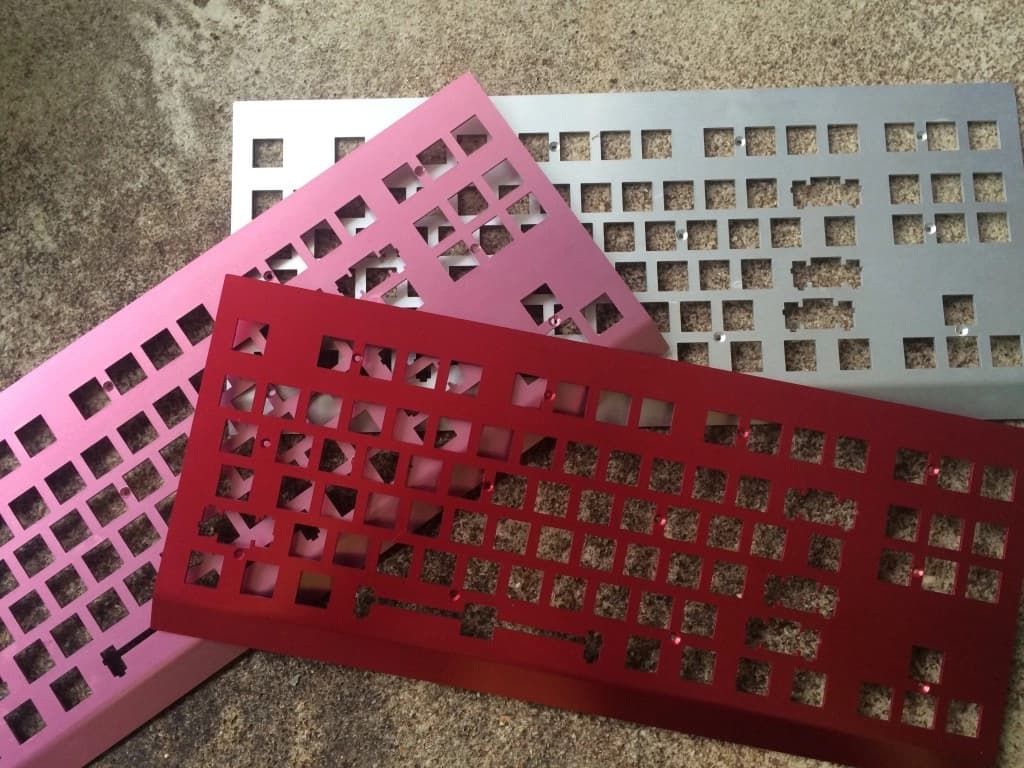
Because you can remove the top plate, also means you can start customizing it yourself. For our first model we want to limit the color choice, so we can focus on the production and delivery of everything without any delay.
The question however is, what basic color and finish should we use for the main model?
2. Negative space
There is quite a lot of negative space (space with nothing on it) on the keyboard when you see it from a top-down perspective. We're still considering if we should shave a bit off the sides and/or top. We like it because it gives more creative freedom for people who'd like to customize the top plate and it has something unique to it. Tough, tough decision.
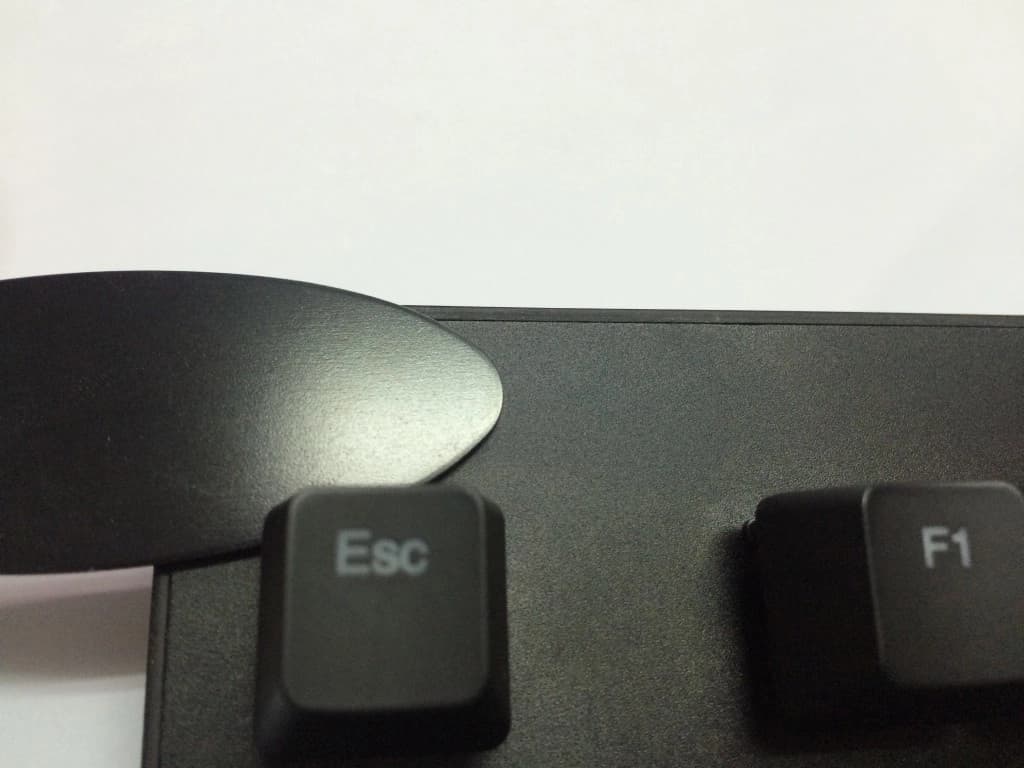
3. Keycap legends
We're going to re-do the keycap font (or a.k.a. legends). We made something basic for the first model but were not satisfied with it just yet. It's not clean and designer precise enough yet. If you've got some suggestions or have an awesome idea, you're welcome to let us know.
If you're a mechanical keyboard veteran, you're probably going to ask what type of keycap we're using. Well for the basic model we'll be using ABS translucent keycaps with black UV coating and lasered legends. It's not the sexiest type of keycap you can have but the stems are CherryMX keycap compatible, so basically all after-market keycaps can fit on it. We're looking into getting bonus PBT keycaps but that's a development in progress.
Plastic bottom case
This is a sure thing. In theory, we're able to change the colors of the bottom case, based on the plastic we use, but we're not playing around with it just yet because more variation = more complication = asking for trouble. So, let's take a look at some things we're still considering.
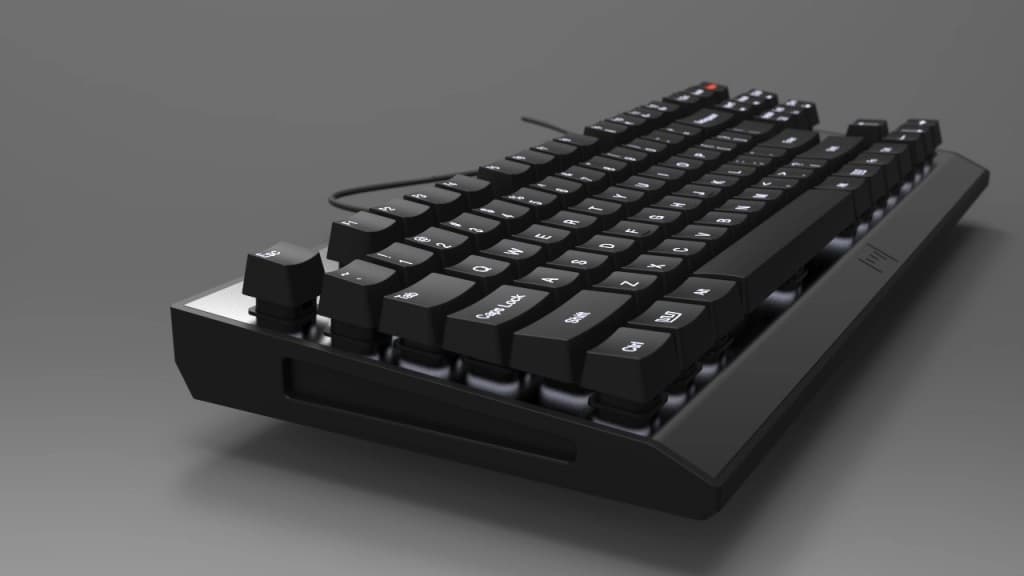
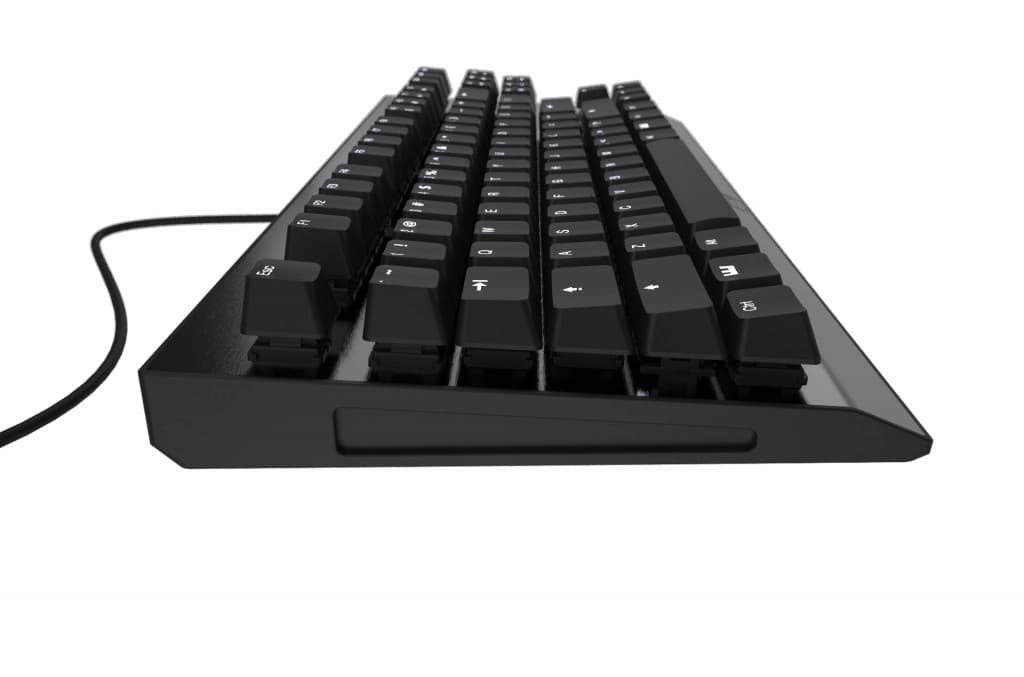
4. Side profile
Alright, so if you've noticed we've made some indents in the side profile of the bottom case.
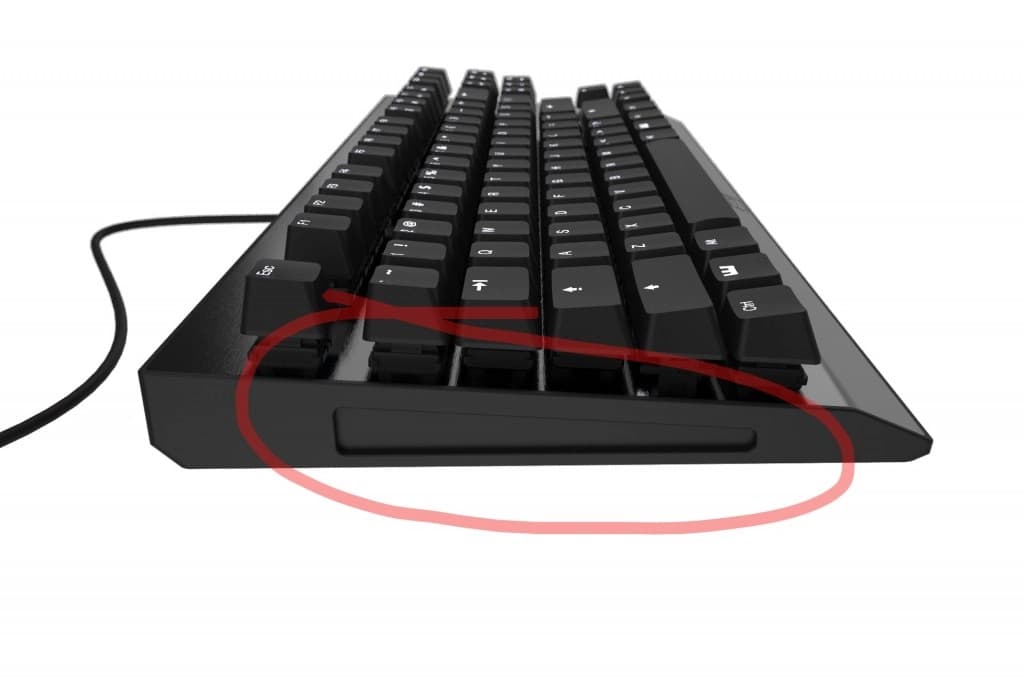
Our original idea was you'd have some extra grip to grab it but in the end, you never really use it, since you can already scoop it up from underneath. Our thinking is to keep it because it looks quite sweet and change the shape a bit or remove it. What do you think?
You're the designer ~ feed us back!
When we just started this project, we told ourselves that we should always seek out for feedback, stay true to ourselves and everybody around us.
That's why our communication channels are always open for everybody and when we get the chance, we answer as many people as we can. So, today be the critical designer and let us know what you think:
- In the comments below
- On Facebook /wootingkb
- On twitter @wootingkb (can also dm)
- By email social@wooting.io
From Wooting.
With love.
Product updates, news, and launches.
Help & Account
Company
© 2015 - 2026 Wooting. All rights reserved.